Using the Client
1 Configuration file
2 Start the Client
3 Connect the Client
4 Start the associated Server
5 Send commands to the Server
6 See also
2 Start the Client
3 Connect the Client
4 Start the associated Server
5 Send commands to the Server
6 See also
This tutorial explains how to open and use the client. We will use existing files in the "config" and "samples" directories of the J661 project binary release.
The major characteristics of this configuration are explained in the Server tutorial. Note that concerning the communication:
After setting the configuration file, the Client will ask for Additional Definition Files (SuperLayer). It is because the cockpit configuration defines a SuperLayer cockpit:
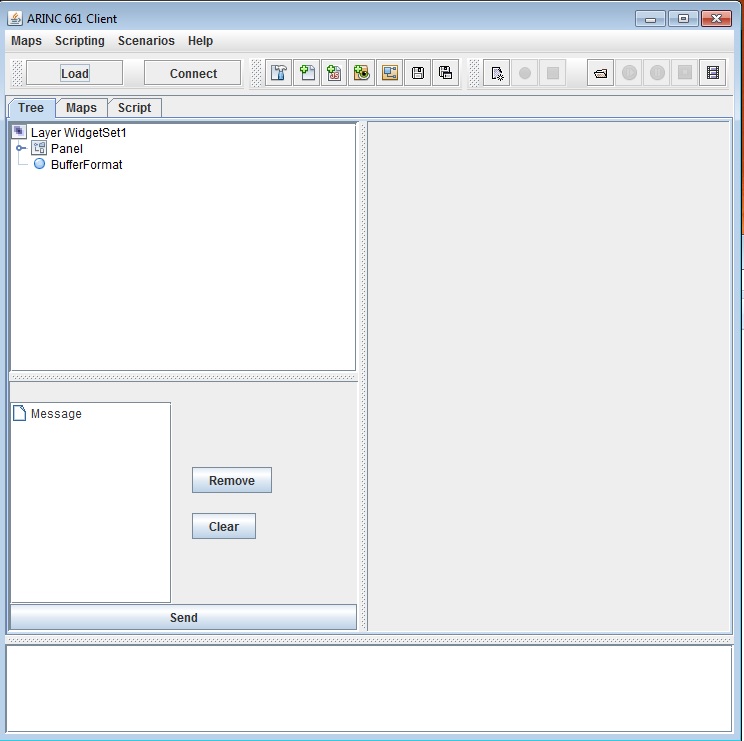
One window will appear:
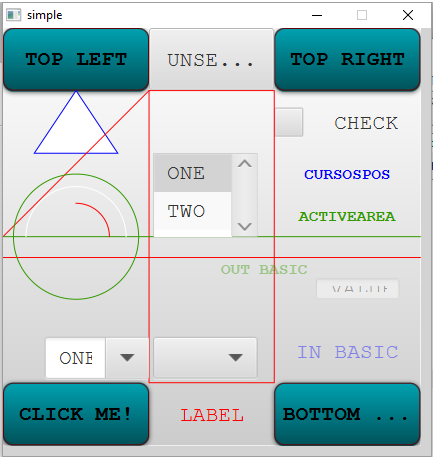
The Server options Window:
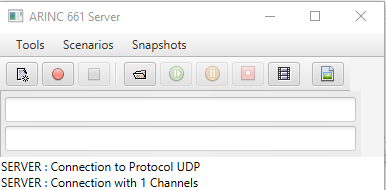
Note that the Server is automatically connected at start.
Configuration file
We will use thearincWindowJFX.properties properties File which is in the "config" directory:
      graphics=DefGraphics.xml
      ui=LookAndFeel.xml
      pictures=DefPictures.xml
      lf=JavaFX
      supplement=6
      warnForUndefAttrs=false
      serverInputPort=8080
      serverOutputPort=8081
      serverInputSize=50000
      serverOutputSize=200
      server.autoVisible=true
      logServerArea=true
      windowManager=windows
      server.windows=../samples/simpleWindow.xml
      server.computeLayerSize=false
      server.superLayer=true
      server.menus=true
      server.uiCombo=true
      logMaximumLines=50
      maximumQueueSize=50
The major characteristics of this configuration are explained in the Server tutorial. Note that concerning the communication:
- The default protocol is UDP
- The input port for the client is the output port for the Server (8081)
- The output port for the client is the input port for the Server (8080)
Start the Client
We will use the Client launcher:
java -jar arincClient.jar
As the configuration file is not defined here, the Client will ask for it. Look for the arincWindowJFX.properties properties File which is in the "config" directory.After setting the configuration file, the Client will ask for Additional Definition Files (SuperLayer). It is because the cockpit configuration defines a SuperLayer cockpit:
      windowManager=windows
      server.windows=../samples/simpleWindow.xml
      server.superLayer=true
In this case the Client will ask for an additional SuperLayer Definition File to be able to change the cockpit configuration at runtime. As we won't use this capability in this tutorial (and keep a fixed cockpit configuration), we will just type cancel in the dialog box.
One window will appear:

Connect the Client
You can connect the client by clicking on the "Connect" button. You can also disconnect at any moment by clicking on the same button again.Start the associated Server
The configuration we used is the same as the one used for the Server tutorial. Start a Server as explained in this tutorial. You will have two other Windows for the Server: The Server Display Window:
The Server options Window:

Note that the Server is automatically connected at start.
Send commands to the Server
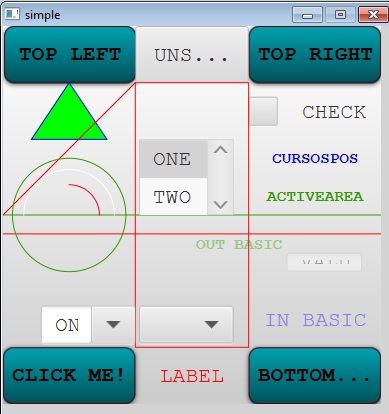
We will change the fill color of the triangle:- Open the widgets tree at the top left of the panel to display the widgets under the Panel and select the Triangle_1 widget. The top right of the panel will show the available messages for the triangle:
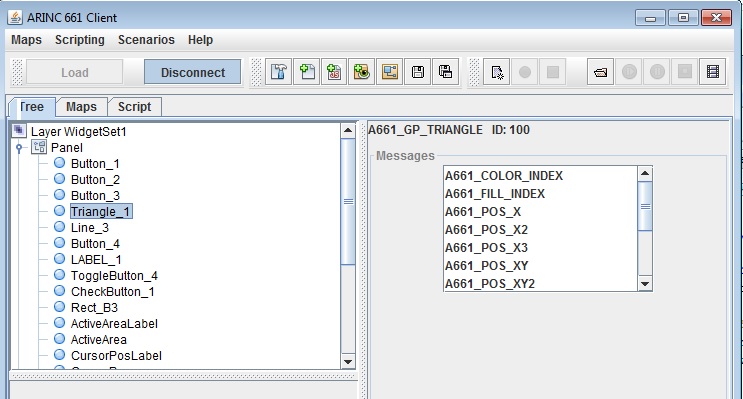
- Select the A661_FILL_INDEX message for the widget. The bottom left of the panel will show the FillColor which is the only parameter for this message:
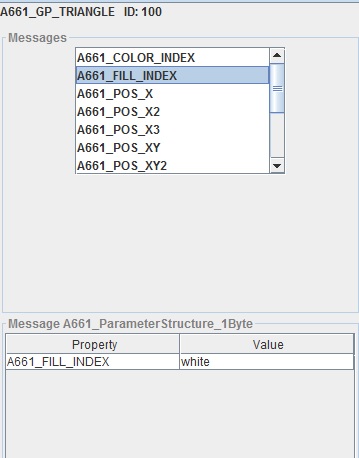
- Change the color from white to green and click on the "Add" button at the bottom. The bottom left panel will show the messages that will be send:
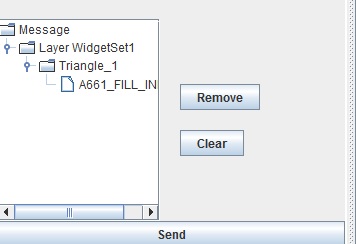
- Click on the "Send" button. The message is sent to the Server

See also
- Client: A Stand-alone User Application engine wrapper
- Server tutorial: This tutorial explains how to open and show a cockpit configuration in the server
×
![]()
Categories: client | cockpit | tutorials | user